A day at the zoo provides many opportunities to practice different types of photography. It can also present different types of challenges. Here’s a few tips to make the most of a day at the zoo or wildlife centre.
Check the zoo’s photography policy
Most zoos are happy for visitors to take photographs for personal or domestic use, but many will require you to obtain written permission if you are intending to use the images commercially. Check the zoo’s policy before you go.
Visit your favourite animals first
Visit your favourite animals early in the day before the zoo gets too busy. This will help you to get the shots you really want.
Some animals will naturally be more active at certain times, such as early in the morning or feeding time. Check the zoo’s timings to make sure you don’t miss an opportunity.
Decide what type of shots you want to get
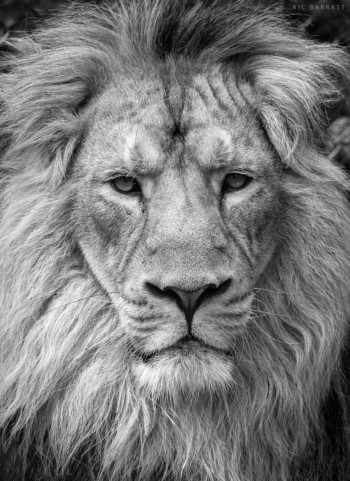
Do you want shots of groups of animals, individuals, close-up shots of just their heads, or maybe just their eyes? Or do you want a mixture of photographs at different focal lengths? Decide what you want to achieve before you go and then come up with a plan. Remember, it is best to avoid swapping lenses too often as this can introduce dust into your camera.
Use aperture-priority
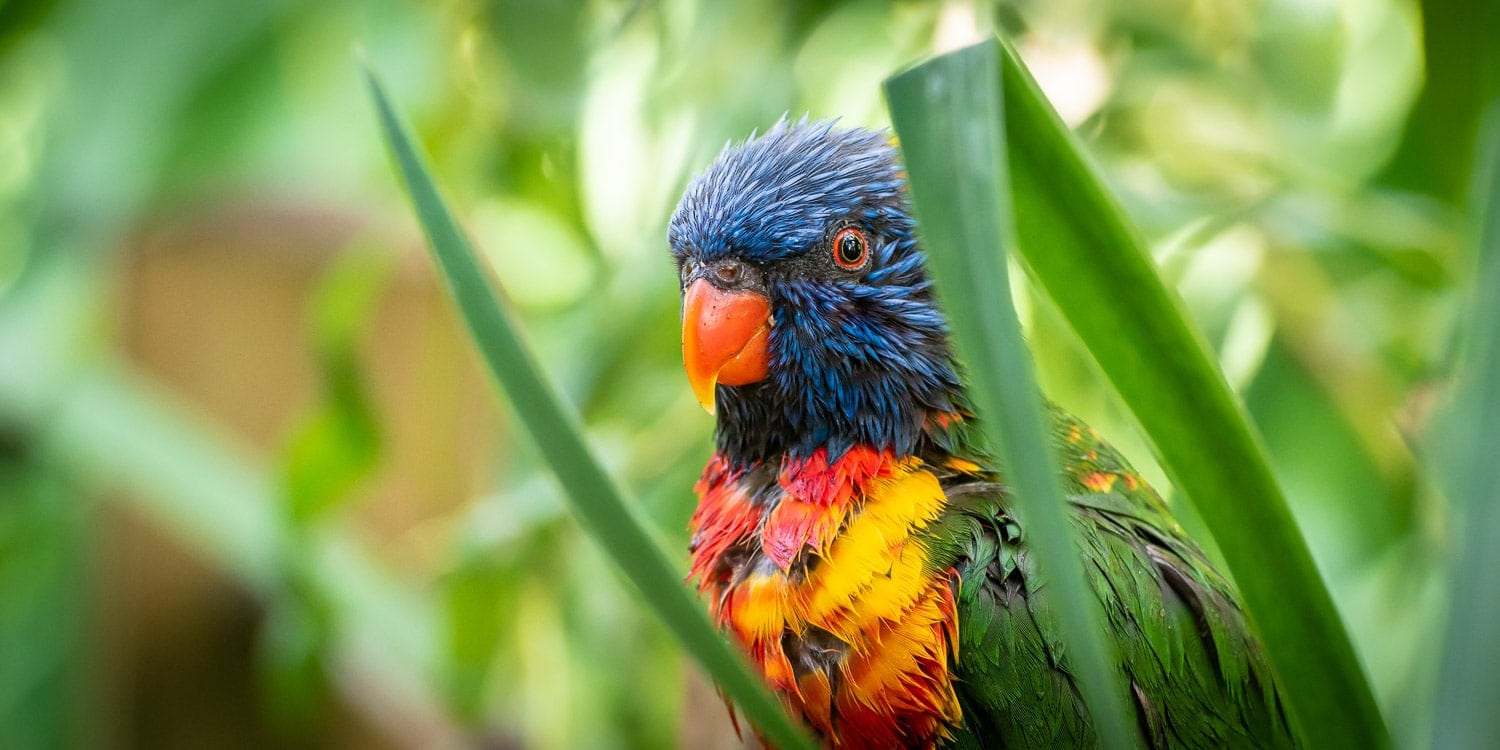
Most of the time I use my camera’s aperture-priority mode, setting it between f/2.8 and f/5.6. This allows me to blur the background as much as possible, separating the animal from its surroundings. Keeping the aperture wide open also allows me to capture as much light as possible in the zoo’s darker areas.
Sometimes it might be necessary to select shutter-priority or manual mode if the animal is moving fast (such as a running animal).
I have my camera set up to display a 3 x 3 grid in my viewfinder to help with composition. You’ll probably want to crop some images later, so make sure your camera is set to take images at the highest resolution available. Shoot in RAW mode if you intend to edit your pictures on computer later.
Consider moving anti-clockwise around the zoo
There is some evidence to suggest that most people move through parks and attractions in a clockwise direction. You might find it quieter if you do the opposite.
Use your camera’s burst mode
Your camera’s burst mode will allow you to take several photographs in quick succession whilst you hold the shutter release button. This is great for fast animals with unpredictable movements as it increases the chance of getting a perfectly timed shot. Just make sure you have plenty of large-capacity memory cards to store all those image files!
Remember that some memory cards work faster than others, and this can affect how many photos you can take in burst mode before your camera starts to stutter.
Make use of your telephoto lens
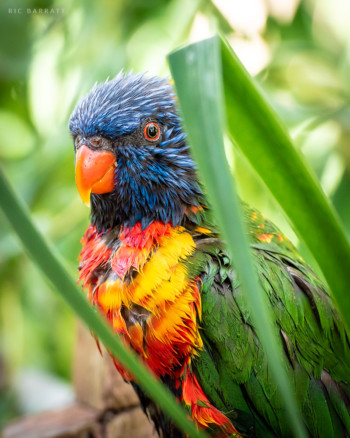
A standard lens is fine when you can get reasonably close to the subject you are shooting. However, a telephoto lens might be better for subjects which are further away. Using one at the zoo will allow you to zoom in closer to the animals. A telephoto lens will magnify the subject, allowing you to capture more close-up detail.
If you don’t have a telephoto lens then you could decide to concentrate your photography on larger animals or animals you can get closer to.
Consider the best time and day to visit
Harsh, bright sunlight might not be desirable for a day of outdoor zoo photography. You might get better results on cloudy days when the clouds act as a natural diffuser for the sunlight.
If you do happen to be shooting on a bright day then you might be better pictures photographing animals which are in the shade.
Have patience
Getting the most interesting shots might require some patience. As many photographers have said: it is better to have a few great shots than to have many mediocre ones.
Be quiet
Even though many zoo animals are accustomed to the bustle of human visitors, they might still shy away from loud noises and sudden movements. If you are quiet and slow, animals might be more likely to move closer.
Don’t use flash
Many zoos don’t allow the use of flash as it can startle the animals and upset other visitors. Direct flash use also tends to produce unflattering light and can introduce glare or reflections into your images. It is worth accepting that the low amount of light in some areas of the zoo will limit your ability to take some photographs.

How to shoot through a fence
Of course, taking pictures at a zoo means you are likely to end up taking some shots through fences. There are few tricks you can try in order to reduce the visibility of these barriers in your final images. The main goal is to make the fence as far out of focus as possible:
- Use a long focal length.
- Shoot with the aperture wide open (low f-number
- Get your camera as close to the fence as possible (be careful not to touch the fence with your lens as it may damage it).
- Try shooting animals far away from the fence.
You should never cross any barriers at the zoo. Always ensure you follow any rules or instructions given by the zoo.

Alternatives to zoos
Zoos are an emotive topic. On the one hand, zoos raise awareness on the plight of species facing extinction and engage in important breeding programmes and conservation projects. But on the other hand it would be wrong to ignore the serious concerns regarding the welfare and exploitation of animals being held in captivity.
If you would prefer not to visit zoos, there are plenty of other places where you can photograph wildlife:
- Animal sanctuaries
- Farms
- Bird centres
- Nature parks
- Woods and forests
- Your back garden!
Remember that it’s not just big, majestic animals that make great photos: images of insects and other small creatures win photo competitions too, and these miniature forms of wildlife can be found everywhere!