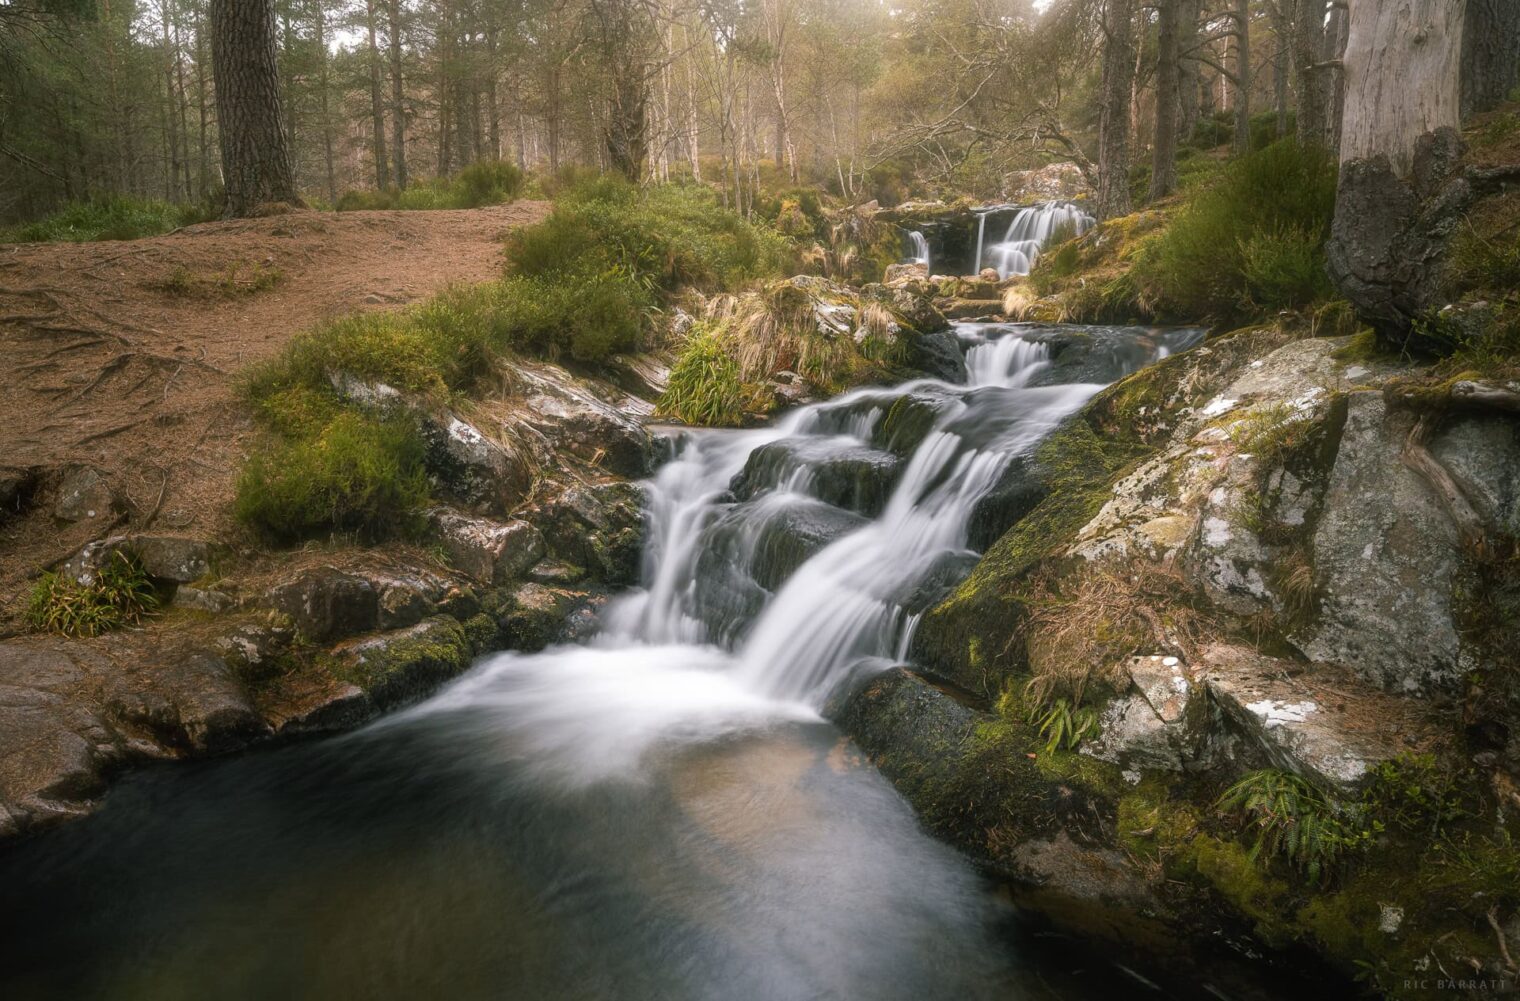
Photographing waterfalls is one of my favourite parts of landscape photography.
After more than ten years of visiting waterfalls across Britain and beyond, my approach has gradually evolved. Some of what follows comes from experience, some from mistakes, and some simply from spending a great deal of time standing beside moving water.
This isn’t a set of rules, nor is it the only way to photograph waterfalls. It is simply the approach that works for me.
Before I leave home
Long before I pick up my camera, I spend time deciding where to go. I often start with OS Maps, looking for waterfalls close to a planned walk or in an area I haven’t explored before. Sometimes a well-known waterfall is exactly what I’m looking for, but I often find myself drawn towards the smaller, lesser-known falls tucked away in quiet glens and woodlands.
If I’m visiting somewhere new, I’ll usually do a little research beforehand. I might look at photographs shared on Google Maps, read about other photographers’ experiences or browse walking websites. I’m not trying to copy compositions. Instead, I’m trying to understand the landscape: how accessible the waterfall is, whether there are viewing platforms, how much freedom there is to explore, and whether there are likely to be other cascades nearby.
Even with all that preparation, I never assume the waterfall will look exactly as I expect. Some waterfalls only appear after prolonged rain. Others become little more than a trickle during dry weather. Sometimes a fallen tree has transformed the scene completely.
That uncertainty is part of the appeal.
I also try to have a backup plan. If the waterfall turns out to be inaccessible or uninspiring, there is usually another walk, viewpoint or landscape nearby worth exploring. I’ve learned not to make a single waterfall the sole purpose of the day.
Before I head out, I double check I’ve got all my gear with me. Forgetting a tripod or a polariser filter can significantly limit the options available to me when photographing waterfalls. I’d count a lens cloth as fairly essential too, so I can carefully wipe down the front of my lens between shots.
Conditions matter
People often ask when the best time is to photograph waterfalls.
For me, overcast weather is usually ideal. Soft cloud acts like a giant diffuser, reducing harsh contrast and allowing the colours of moss, rock and woodland to appear richer and more natural.
Bright sunshine can be much more challenging, particularly around midday when patches of intense sunlight and deep shade create difficult lighting. That doesn’t mean I avoid sunny days entirely. Waterfalls hidden inside deep woodland or narrow gorges can often remain shaded for much of the day, and early morning or late evening light can sometimes produce beautiful, warm highlights around the edges of a scene.
Rain, unsurprisingly, is often your friend.
Heavy rain usually means fuller waterfalls, richer colours and a freshness that is difficult to recreate in dry conditions. It also tends to keep many visitors away. If I’m staying somewhere with waterfalls nearby, I often find myself watching the rain through the window with quiet optimism, knowing tomorrow’s conditions might be perfect.
Safety first
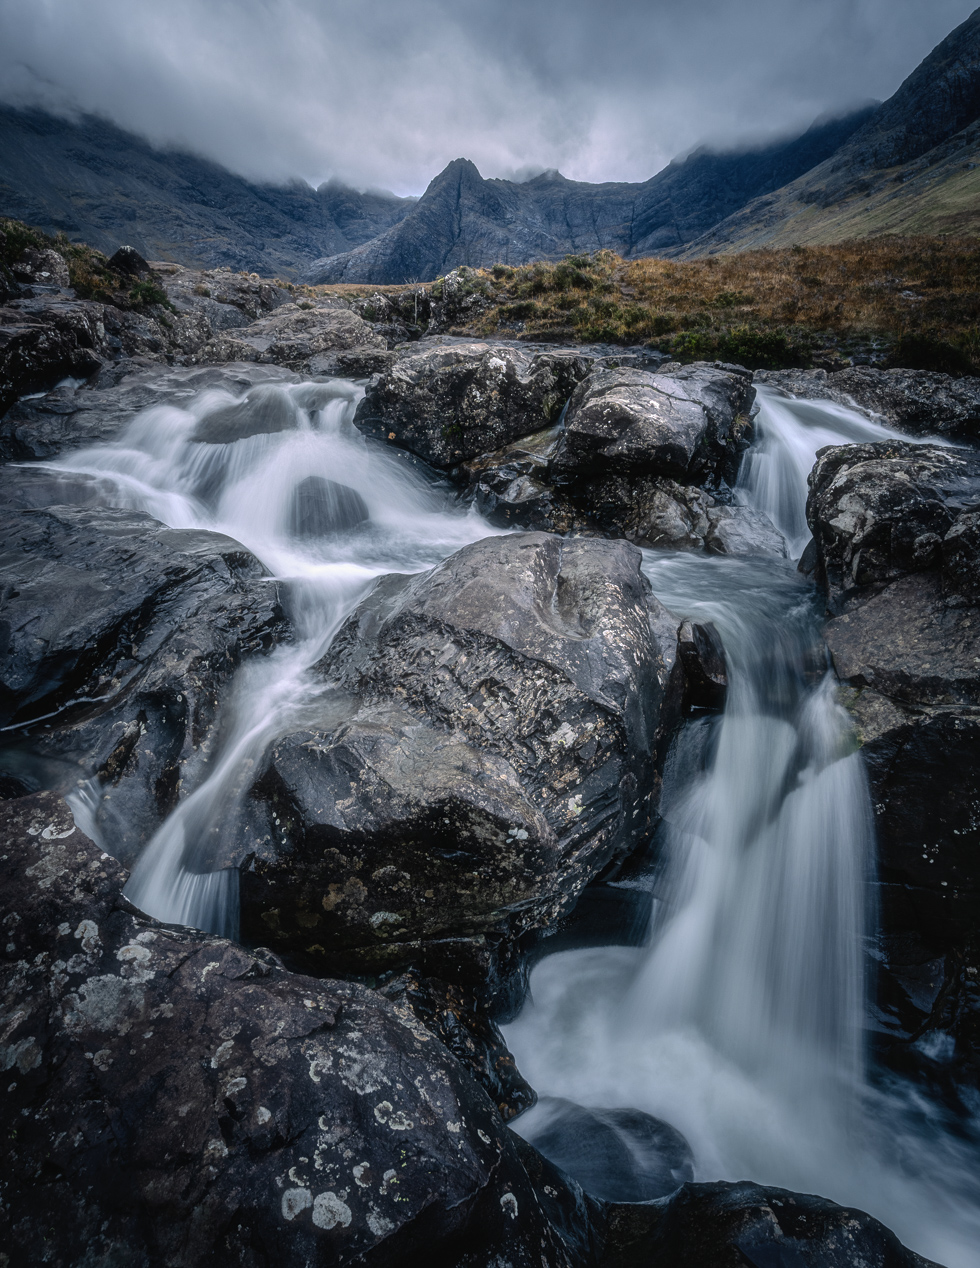
Waterfalls are wonderful places to photograph, but they deserve respect.
Before I even think about composition, I take a few moments to assess the area around me. Where can I leave my bag safely? Is the ground stable? How deep is the water? Could rocks be slippery?
I’m also careful not to put myself or my equipment in situations where a photograph depends on taking unnecessary risks. Rocks around waterfalls can be unpredictable, currents can be dangerous, and even a careful photographer can lose their footing. A slip could mean an injury, damaged equipment, or the loss of photographs that can never be replaced.
The best photograph is never worth compromising safety. If a viewpoint feels unsafe, I would rather step back and find another way to photograph the scene, or move on to somewhere else entirely.
I also try to minimise my impact on the landscape. If there are established paths or rocky areas to stand on, I’ll use them rather than creating new routes across muddy banks or fragile vegetation. No photograph is worth damaging the place that inspired it.
Access matters
One of the biggest advantages when photographing waterfalls is simply being able to move through the landscape comfortably.
A pair of wellington boots has become one of the most useful additions to my waterfall photography kit. They are not glamorous, but they sometimes allow me to explore viewpoints that would otherwise get my feet wet.
They are not a replacement for hiking boots, and I would still be cautious around slippery rocks or fast-moving water. Their advantage is simply that they make wet ground and shallow water easier to deal with when the terrain allows.
Looking before photographing
Once I’ve checked that I’m in a safe position to work, I nearly always take a few obvious photographs.
Partly because they are often worthwhile.
Partly because, if the location is popular, I know another group of visitors could arrive at any moment.
Once I’ve done that, I slow down.
I walk around without the camera at my eye. I look upstream and downstream. I watch how the water moves through the rocks. Sometimes I simply sit for a while.
I’ve noticed that my favourite photographs often come either within the first few minutes of arriving or just before I leave. The first are instinctive. The last are the result of spending time understanding the place.
Those quiet minutes beside the water are often when I begin to notice details I missed initially: a foreground cascade, a line of moss-covered rocks or a subtle change in the flow of the water.
Finding the right perspective
One of the first decisions I make after arriving is which lens to use. Spray and fine mist have an annoying habit of finding their way onto everything, so to protect my gear I try not to swap lenses right by the water. My camera and lens are weather sealed, but I still try to limit the amount of water they are exposed to and wipe them down if they get wet.
If the viewing area is reasonably close, I usually use my ultra-wide lens. It helps exaggerate the foreground and gives the impression of standing within the landscape rather than simply looking at it.
If I’m restricted to photographing from further away, a standard zoom often produces a more balanced composition.
I also use a telephoto lens more often than people might expect. Some waterfalls are more interesting in small sections than as a whole. Isolating patterns in the water, textured rock faces or individual cascades can reveal photographs that are easy to overlook.
Exposure times
One of the biggest changes in my photography has been my approach to shutter speed.
Like many photographers, I started by chasing the longest exposure possible. I loved the silky white effect that long shutter speeds produced.
Now I usually prefer something a little shorter.
Most of my waterfall photographs are taken somewhere between about half a second and two seconds. For me, that often preserves enough movement to show the character of the water while still creating a sense of flow.
That isn’t a rule. Every waterfall behaves differently.
When I find a composition I like, I nearly always photograph it using several different shutter speeds. The waterfall decides which one works best, not me.
Filters
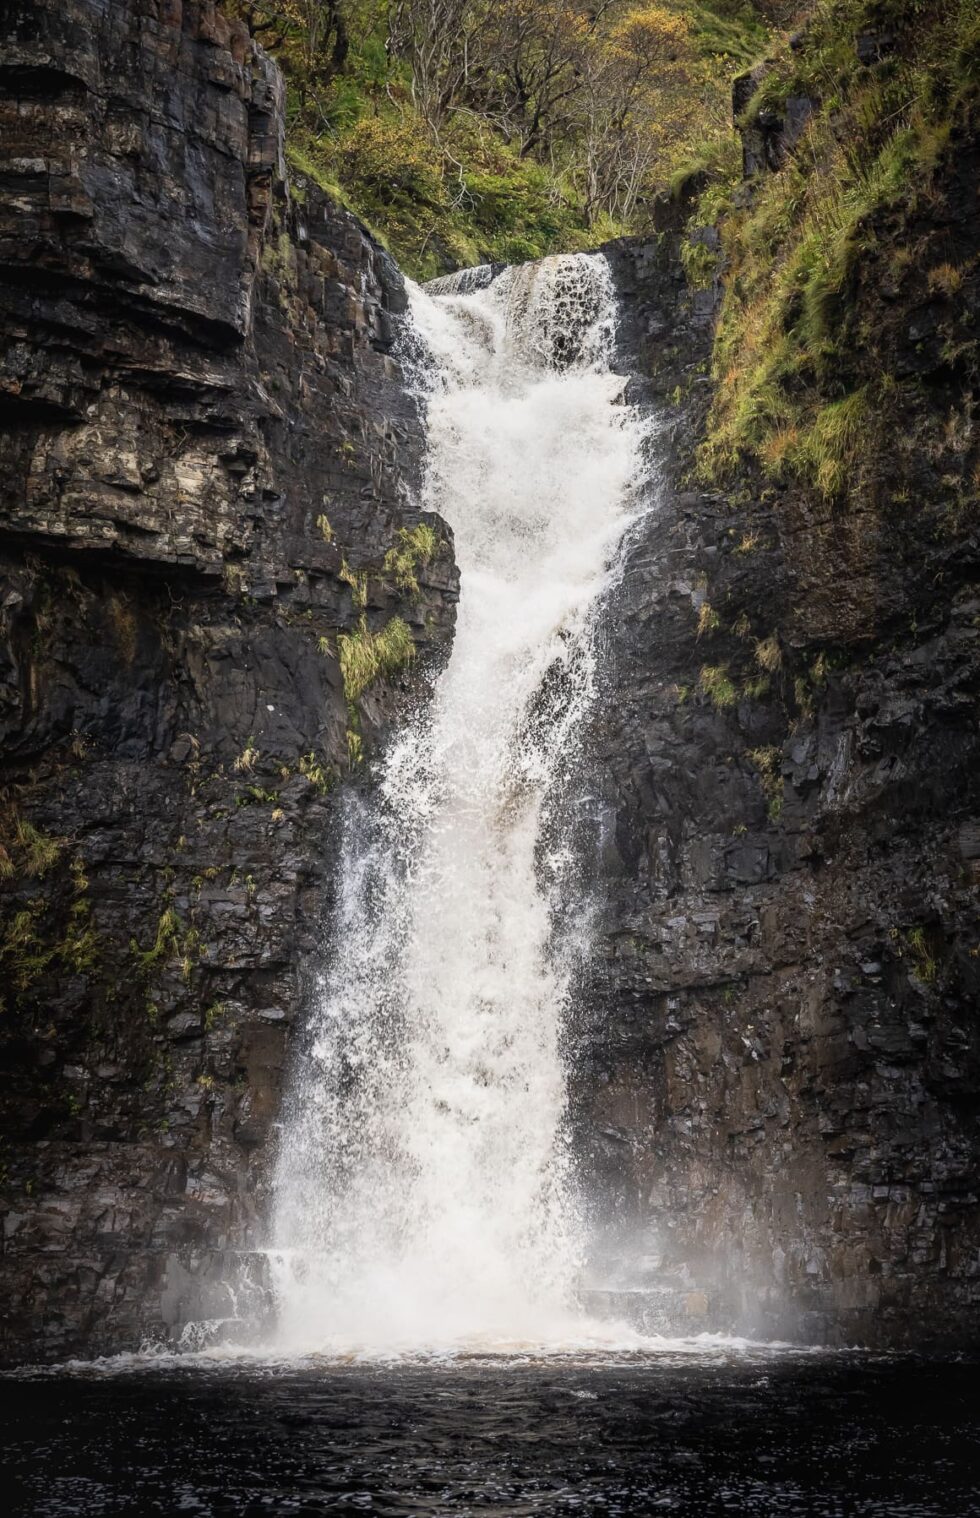
A polarising filter spends more time on my camera than almost any other accessory. I find it essential.
It reduces reflections from wet rocks and leaves, reveals colour hidden beneath the surface of the water and often provides just enough reduction in light to achieve the shutter speeds I prefer.
Because of that, I don’t always need a neutral density filter.
If I do use one, it’s usually a relatively low-strength filter. Personally, I prefer not to stack multiple filters unless I have to. It keeps the setup simpler and gives me one less thing to worry about in damp conditions.
Focus and exposure
The obvious challenge with waterfalls is moving water.
The less obvious challenge is everything else.
Waterfalls often contain bright white water, dark rocks and deep woodland within the same scene. It can be surprisingly easy to lose detail in either the highlights or the shadows.
If I’m unsure, I’ll often bracket my exposures. Storage is cheap; missing detail isn’t.
The same applies to focus.
With an ultra-wide lens and foreground rocks close to the camera, depth of field can quickly become limiting. If necessary, I’ll use focus bracketing so I know I have everything sharp from front to back.
It means returning home with far more photographs than I need, but I’ve never regretted having options.
Returning home
When I’ve finished photographing, I wipe down my gear again before carefully packing it away. Waterfall photography has a habit of leaving everything slightly damp, from the camera and tripod to the inside of my camera bag.
Once I’m home, I empty my bag to allow everything to dry completely. If my tripod has been exposed to water, I’ll usually dismantle it so that I can dry it more thoroughly and prevent any problems later.
Only then do I back up my photographs before finally seeing what I’ve managed to capture.
My favourite lesson
If there is one thing photographing waterfalls has taught me, it is that patience nearly always produces better photographs.
Not because the light suddenly becomes perfect or the conditions magically improve, although sometimes they do.
Simply because slowing down changes the way you see.
The longer I spend beside a waterfall, the less I feel like I’m searching for a photograph and the more I feel like I’m responding to a place.
More often than not, that’s when my favourite image appears.